记住mingw去官网下面的MingW-W64-builds, 下这个版本
x86_64-13.1.0-release-posix-seh-ucrt-rt_v11-rev1.7z
posix很重要, win32版本没线程支持,用到会报错
可以测试下是否能正常运行
#include <thread>
#include <mutex>
#include <condition_variable>
#include <iostream>

std::thread second_workthread;
std::mutex mtx;
std::condition_variable objectDetectorRun;
task.json
安好mingw, cmake
{
    "version": "2.0.0",
    "windows": {
        "options": {
            "shell": {
                "executable": "powershell"
            }
        }
    },
    "type": "shell",
    "options": {
        "cwd": "${workspaceRoot}"
    },
    "tasks": [
        {
            "label": "cmake",
            "linux": {
                "command": "cmake -G 'Unix Makefiles' -DCMAKE_BUILD_TYPE=Debug .."
            },
            "windows": {
                "command": "cmake -G 'MinGW Makefiles' .."
            },
            "type": "shell",
            "dependsOn": "_makebuildfolder",
            "options": {
                "cwd": "${workspaceRoot}/build"
            },
            "presentation": {
                "echo": true,
                "reveal": "always",
                "panel": "shared"
            },
            "problemMatcher": [],
            "group": "build"
        },
        {
            "label": "make",
            "linux": {
                "command": "make -j 8"
            },
            "windows": {
                "command": "mingw32-make -j 4"
            },
            "options": {
                "cwd": "${workspaceRoot}/build"
            },
            "presentation": {
                "echo": true,
                "reveal": "always",
                "panel": "shared"
            },
            "isBuildCommand": true,
            "problemMatcher": [],
            "group": "build"
        },
        {
            "label": "_makebuildfolder",
            "type": "shell",
            "linux": {
                "command": "mkdir -p ${workspaceFolder}/build"
            },
            "windows": {
                "command": "mkdir -Force ${workspaceFolder}/build"
            },
            "problemMatcher": [],
            "group": "build"
        },
        {
            "label": "copy_raw",
            "type": "shell",
            "linux": {
                "command": "mkdir -p ${workspaceFolder}/build"
            },
            "windows": {
                "command": "Copy ${workspaceFolder}/*.raw ${workspaceFolder}/build "
            }
        },
        {
            "label": "run",
            "args": ["32"],
            "windows": {
                "command": "${command:cmake.launchTargetPath}"
            },
            "options": {
                "cwd": "${workspaceRoot}/build"
            },
        },
        {
            "label": "runwithbuild",
            "args": ["32"],
            "windows": {
                "command": "${command:cmake.launchTargetPath}"
            },
            "dependsOrder": "sequence", //tj : make sure exe deps in order
            "dependsOn": ["cmake", "make", "copy_raw"],
            "options": {
                "cwd": "${workspaceRoot}/build"
            },
        }
    ]
}
对于opencv, 要么自己用Mingw编译, 要么下载现存的, 我这里下的现成的https://github.com/huihut/OpenCV-MinGW-Build
cmake_minimum_required( VERSION 3.5 )
project( main )

set(CMAKE_CXX_FLAGS "-std=c++14")
set (OpenCV_DIR C:\\Software\\OpenCV-MinGW-Build)
find_package(OpenCV REQUIRED)

include_directories(${OpenCV_INCLUDE_DIRS})


add_executable( main main.cpp )
target_link_libraries( main ${Pangolin_LIBRARIES} )
debug的话
launch.json
{
    // Use IntelliSense to learn about possible attributes.
    // Hover to view descriptions of existing attributes.
    // For more information, visit: https://go.microsoft.com/fwlink/?linkid=830387
    "version": "0.2.0",
    "configurations": [
        {
            "name": "(gdb) Launch",
            "type": "cppdbg",
            "request": "launch",
            "targetArchitecture": "x86",
            "program": "${command:cmake.launchTargetPath}",
            // "program": "${workspaceFolder}/build/main.exe",
            // "program": "${fileDirname}\\${fileBasenameNoExtension}.exe",
            "args": ["32"],//左边启动debug, 从这里pick up args
            "stopAtEntry": false,
            "cwd": "${workspaceFolder}/build",
            "environment": [
                {
                    "name": "PATH",
                    "value": "${env:Path};C:\\Workspace\\v-nova\\build"
                    //这里设置错了,容易出现Unable to start debugging. Unexpected GDB output from command “-exec-run“
                }
            ],
            "externalConsole": false,
            "MIMode": "gdb",
            "miDebuggerPath": "C:/Software/mingw64/bin/gdb.exe",
            "setupCommands": [
                {
                    "description": "Enable pretty-printing for gdb",
                    "text": "-enable-pretty-printing",
                    "ignoreFailures": true
                }
            ],
        }
    ]
}
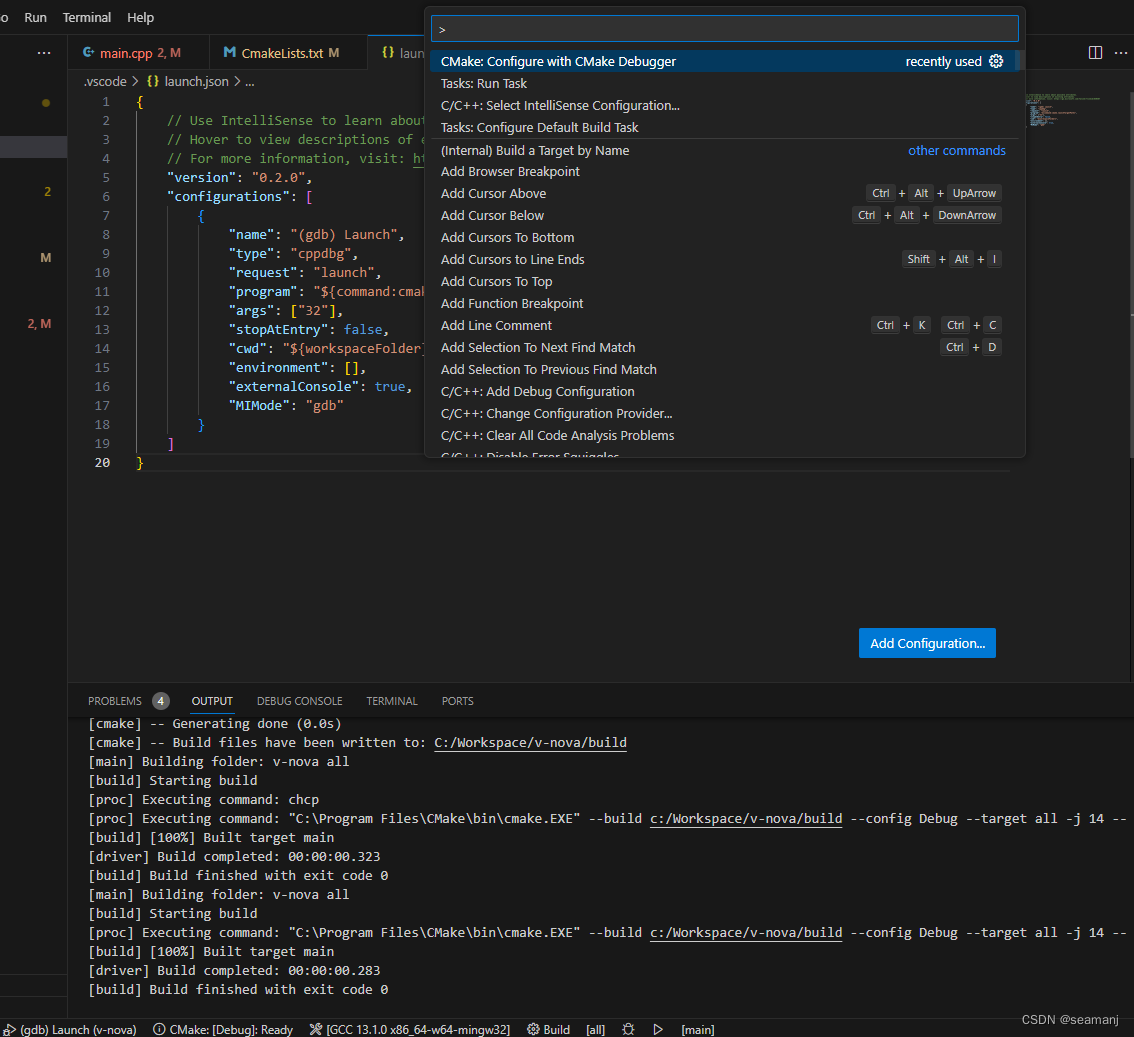
需要配置用 cmake:configure with cmake debugger
注意最下面的状态栏, 如果没有设置点进去设置
另外 cmake可能会让把
C:\Software\OpenCV-MinGW-Build\x64\mingw\bin
加入环境变量
如果传参在launch.json 不work的话, 在setting.json里面加上
从状态栏启动debug的话, 设置 args要在setting.json里面
{
    "cmake.configureOnOpen": false,
    "files.associations": {
        "ostream": "cpp",
        "mutex": "cpp",
        "array": "cpp",
        "string": "cpp",
        "string_view": "cpp"
    },
    "C_Cpp.default.compilerPath": "C:\\Software\\mingw64\\bin\\g++.exe",
    "cmake.debugConfig": {
        "args": [
            "32"//下面启动debug从这里Pick up args
        ]
    }
}
从左边启动debug的话, args在launch.json里面设置
https://github.com/microsoft/vscode-cmake-tools/issues/121


